Ink Drawing Techniques for Creating Dramatic Effects: A Comprehensive A-to-Z Guide
Introduction: The Power of Ink in Conveying Emotion
Ink is not just a writing tool—it is a powerful artistic medium capable of creating worlds of contrast, bold emotions, and mystery. Ink drawings can produce dramatic works that reflect depth, movement, and intrigue through techniques ranging from delicate lines to chaotic, lively splatters. In this comprehensive guide, we’ll explore innovative methods and essential tools to transform a blank page into a stunning masterpiece.
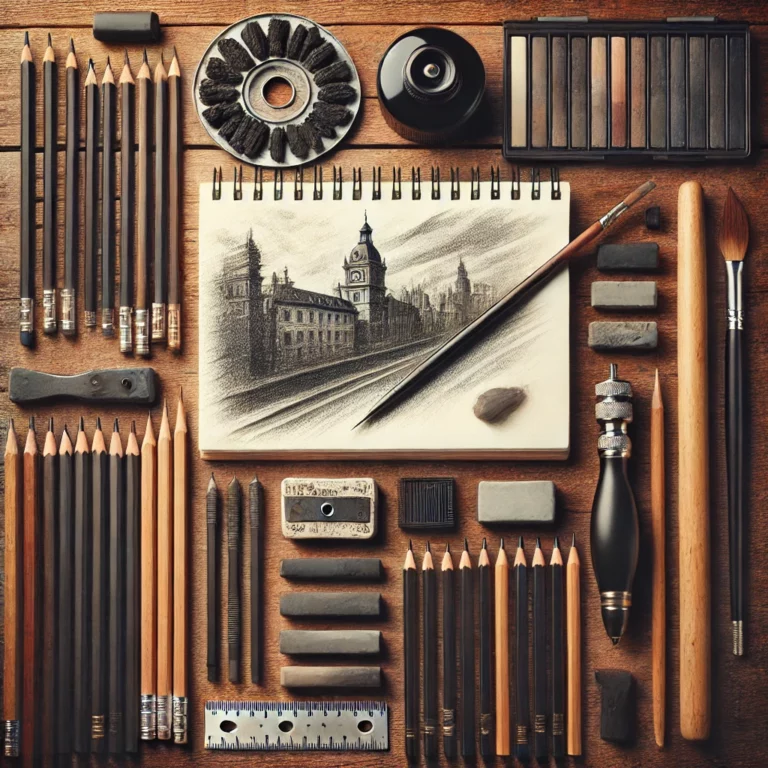
1. Essential Tools: Your Choices Define Your Art
A. Types of Ink
- India Ink:
- Features: Waterproof when dry, dense pigment, ideal for fine details.
- Use: Works with dip pens or technical pens.
- Acrylic Ink:
- Features: Can be diluted with water for gradients or used undiluted for thick textures.
- Coffee/Tea Ink:
- Features: Natural warm tones, perfect for vintage or romantic scenes.
B. Application Tools
- Pens:
- Technical Pens: For smooth, consistent lines.
- Brush Pens: Flexible strokes mimicking traditional brushes.
- Dip Pens:
- Artists’ Nibs: Allow precise control over line thickness.
- Brushes:
- Natural Hair Brushes: Create soft washes or splatters.
- Old Toothbrush: For splatter effects.
C. Suitable Surfaces
- Heavyweight Paper (200+ GSM): Absorbs ink without warping.
- Asian Rice Paper: Ideal for ink wash techniques.
- Treated Wood Panels: For organic, textured effects.
2. Ink Drawing Techniques: From Simplicity to Complexity
A. Line Art
- Fine Details:
- Use ultra-thin pens (0.1 mm) for intricate portraits or architectural details.
- Tip: Sketch lightly with pencil first.
- Expressive Lines:
- Use swift, jagged strokes to convey movement, like windblown trees.
B. Hatching/Cross-Hatching
- Hatching:
- Draw parallel lines at varying densities to represent shadows. Closer lines = darker areas.
- Cross-Hatching:
- Add a second layer of lines at a 45° angle to deepen shadows.
- Example: Use for wrinkled fabric folds.
C. Stippling
- Basics:
- Build gradients with tiny dots. Dense dots = shadows; sparse dots = highlights.
- Time-Intensive: Requires patience but delivers unmatched depth.
- Advanced Application:
- Mix large and small dots for textures like crocodile skin or lunar surfaces.
D. Ink Wash
- Preparation:
- Dilute ink with water (1:1 for light tones, 1:3 for dark).
- Techniques:
- Flat Wash: Cover large areas with a wet brush for backgrounds.
- Gradient Wash: Start dark at the top and fade downward for sunsets.
- Pro Tip: Sprinkle salt on wet ink for starry or snowy effects.
E. Splattering
- Tools: Toothbrush or stiff brush.
- Steps:
- Dip the brush in ink.
- Flick bristles to splatter ink onto paper.
- Effects:
- Fine mist for rain.
- Heavy splatters for blood or dust effects.
F. Scratching (Sgraffito)
- Tools: Craft knife or pin.
- Technique:
- Scratch dried ink to create white lines.
- Use: Add highlights to hair or animal eyes.
3. Advanced Techniques for Dramatic Impact
A. High Contrast
- Concept: Pair stark whites with dense blacks for visual shock.
- Application: Use pure black ink for backgrounds, leaving white spaces for subjects.
B. Optical Distortion
- Overlapping Lines:
- Draw repetitive, overlapping shapes to mimic motion (e.g., swirling water).
- Color Shift:
- Blend black ink with grays to disrupt depth perception.
C. Rhythmic Repetition
- Geometric Patterns:
- Repeat triangles, circles, or waves for visual rhythm.
- Use: Bold poster designs or portrait backgrounds.
4. Professional Tips to Avoid Common Mistakes
- Test Tools First: Experiment on scrap paper before committing.
- Control Water Ratios: Over-dilution weakens ink intensity.
- Work Light-to-Dark: Start with light washes before adding shadows.
- Patience with Stippling: Precision requires focus—don’t rush!
5. Practical Exercises to Hone Your Skills
Exercise 1: Stippling an Eye
- Steps:
- Sketch a circle in pencil.
- Use tiny dots for the iris, leaving a white reflection.
- Intensify dots around the pupil for depth.
Exercise 2: Ink Wash Forest
- Steps:
- Apply a light gray wash for the background.
- Add vertical dark lines for tree trunks after drying.
- Splatter green ink for foliage.
6. Inspiration from Ink Masters
- Albrecht Dürer: Mastered cross-hatching in engravings for photorealistic depth.
- Zhao Meng: Blends traditional Chinese ink with modern abstraction.
- Frank Miller: Transformed ink into cinematic scenes in Sin City.
7. FAQs
Q: How do I fix an ink mistake?
A: Use white ink or gently scratch errors off thick paper.
Q: Can I mix ink with watercolors?
A: Yes, but apply ink first—it’s waterproof when dry.
Q: What paper prevents ink bleeding?
A: Choose 300 GSM paper with a smooth surface (e.g., Bristol Board).
Conclusion: Transform Ink into Visual Stories
Ink drawing is an exploratory journey where every drop holds potential for new drama. Whether you’re sketching stormy landscapes or emotive portraits, remember: experimentation and boldness are key. Start small, and let ink guide you to uncharted creative worlds.
🎨 Now, pick up your pen… and let ink tell your story in unforgettable ways!