DIY Watercolor Tricks: Guide for Artists
Introduction
Watercolor painting continues to captivate artists and admirers alike with its luminous quality, fluid nature, and unpredictable charm. While seemingly simple in concept pigment suspended in water applied to paper watercolor can be one of the most technically challenging mediums to master. This comprehensive guide explores innovative DIY watercolor techniques, from foundational methods to experimental approaches that will enhance your artistic practice without breaking the bank.
The Essentials: Materials and Setup
Budget-Friendly Quality Materials
Paper Alternatives:
- Coffee filters for practice (their absorbent quality mimics watercolor paper)
- Tea-stained drawing paper for an antique effect
- Yupo paper (synthetic) for unique effects and easy lifting
DIY Watercolor Paints:
- Create your own watercolors by mixing dried pigments with gum arabic and honey
- Extract natural pigments from flowers, berries, spices, and vegetables
- Revive dried watercolor pans by adding a drop of glycerin and water
Brush Substitutes:
- Repurpose makeup brushes for fine details
- Create texture tools from household items (toothbrushes, sponges, cotton swabs)
- Fashion brushes from natural materials like feathers or plant stems
DIY Palettes:
- Repurpose ceramic plates or tiles
- Use ice cube trays for color separation
- Convert old mint tins into portable palettes
Fundamental Techniques with a Twist
Water Control Innovations
Water Reservoirs:
- Use a spray bottle for consistent misting
- Create a water brush by filling a mechanical pencil barrel with water
- Employ a pipette for precision water application
DIY Moisture Control:
- Place a damp sponge under your paper for extended working time
- Use a hairdryer on low setting for controlled drying
- Create a humidity box from a plastic container to prevent premature drying
Color Application Secrets
Gradient Mastery:
- Create seamless gradients by pre-wetting paper sections
- Use salt varieties (table, kosher, rock) for different crystallization effects
- Employ rubbing alcohol drops to create cellular patterns
Color Mixing Innovations:
- Mix colors directly on paper rather than palette for vibrant blends
- Layer complementary colors for rich neutrals and shadows
- Create glazing medium from diluted gum arabic for transparent layers
Advanced DIY Techniques
Texture Creation Methods
Resist Techniques:
- Create masking fluid from rubber cement or diluted white glue
- Use candle wax or crayons for wax resist effects
- Apply petroleum jelly for removable resist areas
Physical Texture Methods:
- Crumple and flatten paper before painting for a textured background
- Use plastic wrap pressed into wet paint for organic patterns
- Sprinkle sand or coffee grounds for dimensional texture
Lifting and Subtractive Techniques:
- Employ kneaded erasers for precise lifting of dry areas
- Use makeup sponges for soft cloud or foliage effects
- Create highlights with a slightly damp brush handle
Experimental Approaches
Mixed Media Integration:
- Combine watercolor with colored pencils for definition
- Use white gel pens or gouache for final highlights
- Incorporate collage elements sealed with matte medium
Alternative Application Tools:
- Apply color with credit cards or gift cards for sharp edges
- Use drinking straws to blow wet paint for branch-like patterns
- Create splatter effects with toothbrush flicking techniques
Surface Manipulation:
- Float oil pastels on water surface and dip paper for marbling
- Tilt paper at various angles to direct pigment flow
- Use a heat gun to create bubbling and movement in wet paint
Subject-Specific Watercolor Tricks
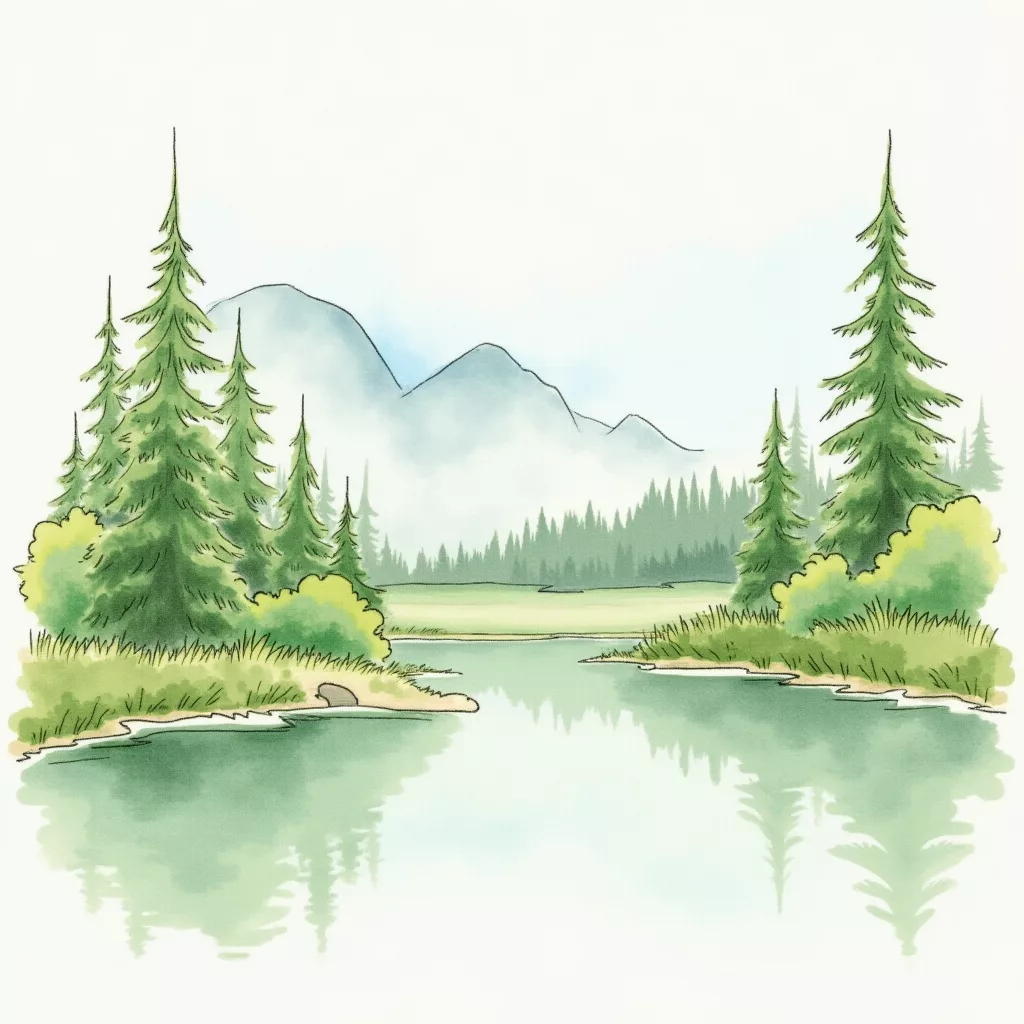
Landscape Techniques
Sky and Cloud Effects:
- Wet paper and dab with tissue for cloud formations
- Layer transparent blue washes for atmospheric depth
- Use the edge of a credit card to create sharp horizon lines
Water Features:
- Apply masking fluid for white caps and reflections
- Use horizontal strokes with a flat brush for water surfaces
- Create ripples with a fine brush handle on wet paint
Foliage and Texture:
- Spatter techniques for distant trees and bushes
- Salt application for organic foliage texture
- Lifting technique with a dry brush for light coming through leaves
Portrait and Figure Tricks
Skin Tones:
- Build translucent layers for realistic skin depth
- Mix complementary colors for natural shadows
- Use negative painting for highlight areas
Hair and Fabric:
- Apply wet-in-wet technique for flowing hair
- Use dry brush techniques for texture in fabric
- Create folds with graduated washes and lifting
Expression and Detail:
- Focus moisture control for eyes and expression points
- Use a thicker paint consistency for final defining details
- Employ controlled blooms for soft transitions in features
Still Life Innovations
Translucent Objects:
- Reserve whites for highlights on glass
- Use negative painting around highlight areas
- Layer complementary colors for shadow depth
Texture and Surface:
- Dry brush technique for wood grain or rough surfaces
- Plastic wrap texture for organic patterns in fruits
- Sponge application for stippled texture in backgrounds
Troubleshooting Common Watercolor Problems
Fixing Mistakes
Recovering Overworked Areas:
- Lift color with a damp clean brush and paper towel
- Apply a light wash over dried problem areas to unify
- Use white gouache sparingly to recover lost highlights
Preventing Muddy Colors:
- Allow layers to dry completely before applying new colors
- Limit palette to 3-4 colors per painting section
- Clean brush thoroughly between color applications
Managing Bleeding and Blooms:
- Control water-to-pigment ratio for intentional blooms
- Use a thirsty brush to absorb unwanted puddles
- Apply paper towel edge to pull excess moisture
Preservation and Finishing
DIY Fixatives:
- Create a light fixative from diluted matte medium
- Use a fine mist of water with a small amount of gum arabic
- Apply a thin layer of beeswax for natural protection
Mounting and Displaying:
- Flatten buckled paper by misting the back and pressing under weight
- Create a floating mount with acid-free mat board
- Seal backs of paintings with acid-free paper tape
Developing Your Artistic Voice
Consistent Practice Methods
Daily Exercises:
- 10-minute color mixing charts
- Quick sketch and wash technique practice
- Single-color value studies
Project-Based Learning:
- Recreate the same scene in different seasons/lighting
- Study master watercolorists and attempt their techniques
- Document technique experiments in a dedicated journal
Finding Inspiration
Nature Observation:
- Collect natural objects for color and texture reference
- Photograph interesting light patterns for composition ideas
- Sketch outdoors to understand natural color relationships
Community Engagement:
- Participate in watercolor challenges on social media
- Join local sketching groups for shared learning
- Exchange techniques with fellow artists
Conclusion
Watercolor’s beauty lies in its balance of control and spontaneity. These DIY techniques provide pathways to explore this delicate balance while developing your unique artistic expression. Remember that mastery comes through consistent practice and a willingness to embrace both the planned and unplanned aspects of this remarkable medium. As you incorporate these techniques into your work, you’ll discover that limitations often spark the most creative solutions, leading to a more sustainable and innovative artistic practice.
Art11deco

